
Ever had your dryer break down and thought about fixing it yourself? You’re not alone. Many folks are opting to take on home repairs, and with the right knowledge and tools, you can too.
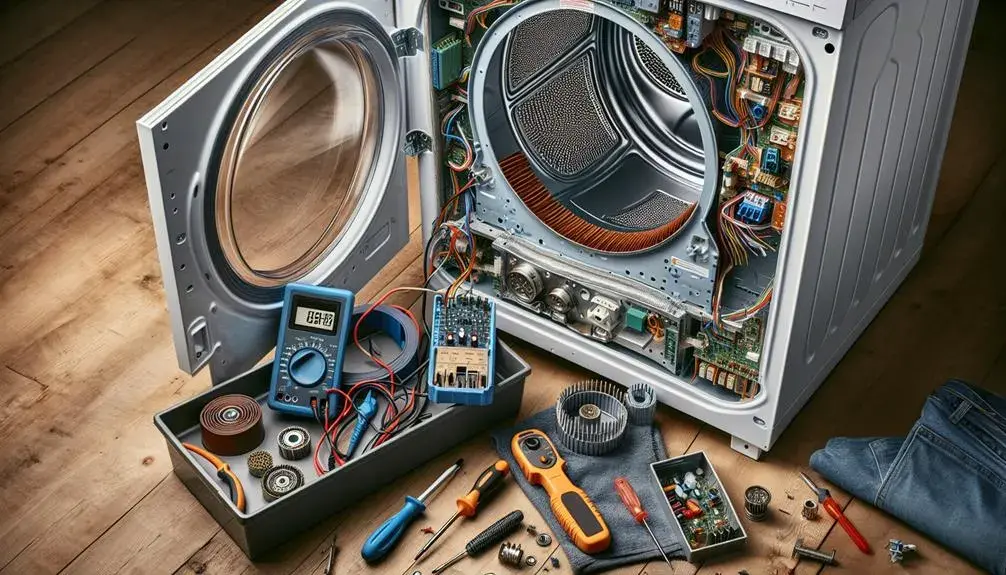
It’s crucial to understand the key components of your dryer: the drum, where your clothes get dried; the motor, which drives the drum; the thermostats and fuses, which regulate temperature and electrical flow; and the vent, which expels hot air. Also, you’ll need a set of basic tools, including a multimeter to test electrical components, a screwdriver, needle-nose pliers, and a putty knife.
But remember, while knowing these essentials is a good start, proper DIY dryer repair requires careful planning and execution to avoid potential mishaps or even injury.
So, ready to dig deeper into the world of DIY dryer repair?
Understanding Your Dryer’s Key Components
Let’s delve into the heart of your dryer, familiarizing yourself with its key components is crucial for effective DIY repairs. Understand that the drum, where clothes tumble around, is driven by a motor. That’s connected via belts to a pulley system. When you’re hearing a thud or the drum isn’t spinning, it’s likely a belt issue.
Next, there’s the heating element. If your clothes aren’t drying, that’s the first place to check. The thermostat and thermal fuse are other key players in maintaining the right temperature. Your dryer’s ‘brain’ is its control board. It interprets signals from various sensors and switches, controlling the motor and heat.
In this DIY journey, you’re not alone. We’re here to guide and ensure you feel a part of our proactive community.
Tools Required for DIY Dryer Repair
Before you roll up your sleeves to tackle a DIY dryer repair, it’s crucial to have the right tools at your disposal, ensuring a smoother and more efficient process.
Start with a multimeter, your best friend for diagnosing electrical issues. You’ll also need a set of nut drivers or sockets to remove and replace parts. Don’t forget a good pair of needle-nose pliers for those tricky, hard-to-reach areas.
A putty knife can be handy for prying open the dryer’s cabinet, while a vacuum is essential for cleaning out lint build-up. Lastly, always keep a flashlight close by for better visibility.
Equipping yourself correctly won’t only make the repair process less daunting, but also help you feel more connected to the DIY community.

